|
Better Business A+ Member Since 2003! Zero Customer Complaints. |

|
Step 1. Print your template from the Tools & Reference Link menu at the top or make a drawing of the area you want to cover. This drawing does not have to be to scale but should represent the basic shape of the mat. See the pattern section to view available shapes. Opposite side totals of the mat should match. As an example - The total of the horizontal measurements across the top of the mat should equal the total of the horizontal lines across the bottom of the mat as well as the left and right sides. |
|
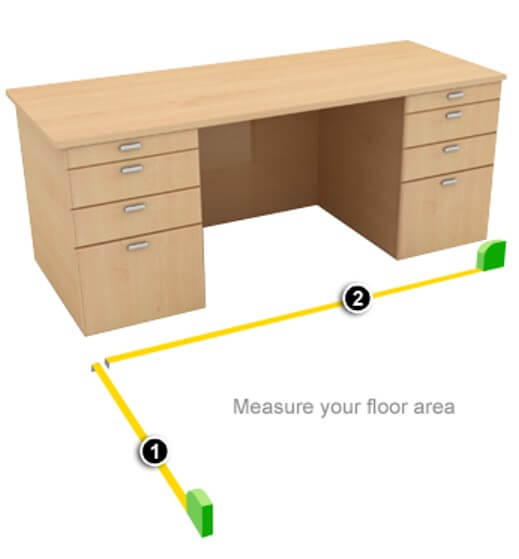
| Step 2. Using a tape measure, measure the areas and write them down on the drawing as illustrated below. You will need this information later in the process as we transfer this information from paper to the computer. Round your inside measurements (lip area) down to the nearest inch mark. (example - Your measurement is 25 1/2" you would round it down to 25") This will allow enough clearance to install the mat without damaging the furniture. This will not effect the effectiveness of the mat. |
 |
| Step 3.Now that you have taken your measurements and completed step 2, it is time to double check them and figure the overall size of the chair mat. Check opposite sides to make sure that they total to the same #. If they do not adjust them before proceeding. |